
Implementation:
Multimedia of 3D Models, Virtual Reality, Desktop Gaming Assets.

This will feel like a blog post, but I didn’t want it to be. I wanted it to feel more official.
Let’s dive right in. Thousands of hours spent and I have finally been able to post some results. This all started when I picked up blender and for some reason thought I could make things. I couldn’t. That was then. This is now. For those of you that want to jump right to the Trailer Video, go ahead and watch it. It’s right below. For anyone interested in the “story” behind everything. Continue reading after the video plays to enjoy the commentary, slides, and photo galleries.
Now, where were we?
In the beginning, I started off very slowly. I endeavored to build the cockpit of the ship, The Firebird. It didn’t go well at all. I was mostly downloading assets and trying to modify them to approximate my vision for the ship. After countless hours it was just a sloppy mess of jumbled parts, with excessive geometry, extreme (and I’d come to find, very inefficient) file sizes, and badly applied UVMap textures that I could only rudimentarily edit in photoshop.
But then… I realized I was learning. I was by no means at the level I am now, but one day, driving home, I decided, “I can build this myself.” That was over a year ago. So I resolved to stop downloading pre-existing 3D assets and build EVERYTHING from scratch. Let me tell you. I learned as I went.
Once again I started with the cockpit. More specifically, the dashboard instruments and displays. At this stage I was literally building vertex by vertex and connecting lines. Slowly but surely I learned edges, faces, extrusion, bevels, sub-surf geometry, nodes, shaders, textures, normal maps, ALPHA, and so on and so on because the learning curve is massive.
Below is a very early render of the cockpit dashboard.

Each time I became proficient in something new, I returned to what I had built previously and applied that knowledge. There were dozens of cleanups for n-gons, bad geometry, and textures that just didn’t look or feel right. I was constantly going back and fixing my previous work until…
Well, until the entire ship was finished. But that is getting ahead of ourselves. In the early stages I had “finished” the cockpit, thinking that was the end of it. I had walls, an outer shell complete with transparent glass canopy, and the textures were what I thought of as complete at the time. Next, I would export it to GLTF format and have a cool little home-world on my VR headset where I could chill in the cockpit. This was it. That was the goal.
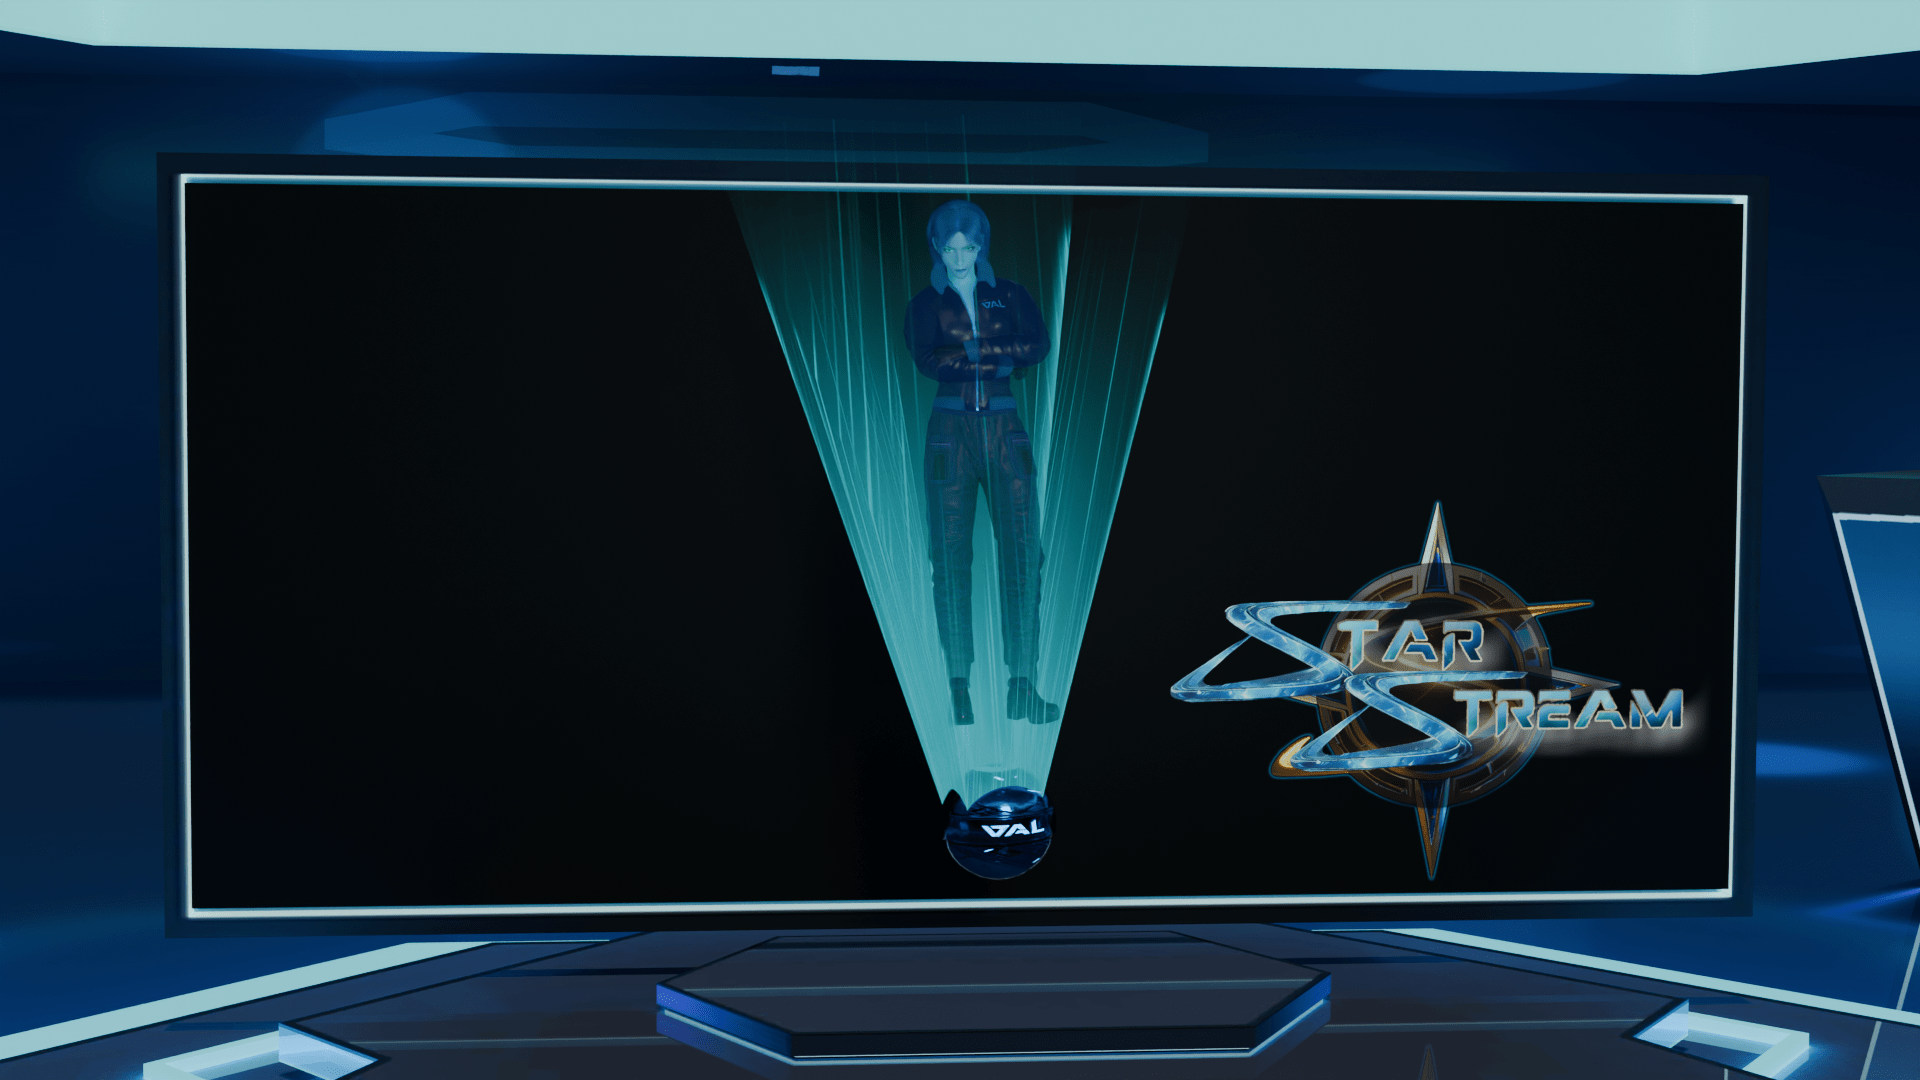
But, then the goal changed. I needed VAL in the cockpit. So I took some time away from the ship and created VAL. Not the completed version you see in the gallery as it exists today. This version was just a rough hodgepodge with one mixamo animation, and an orb. Over time, everything got better. She was the first thing I ever keyframed in blender. In a very early state, but slightly polished, I exported the small companion into the ship and the GLTF.
Early build and Render.


Nearly Complete Version Promo Renders
Gallery (Click to Expand)


Below is my first attempt at rendering an animation. It’s very dark. I didn’t have the right lighting and the character herself was unlit (she should have been slightly illuminated like a hologram). I also had to heavily downsize the resulting video file which reduced resolution. After heavily compressing, the file size ended up being around 10MB, but it had been several hundred MB rendered prior to compression. Lastly, it was made with the intention of exporting to GLTF, which severely limits what type FX can be animated. Mostly used for gaming, GLTF is more focused on physical animations and not special FX.
Now I could sit in the cockpit and see my little holographic co-pilot in VR. It was basic but it worked. I was more comfortable in blender at this point. I decided I would build Agent September. So, I did. There were many revisions and revisits, but the concept remained the same. The SVS Armor texture evolved through many iterations, then I made a head. But wait, it was missing something.
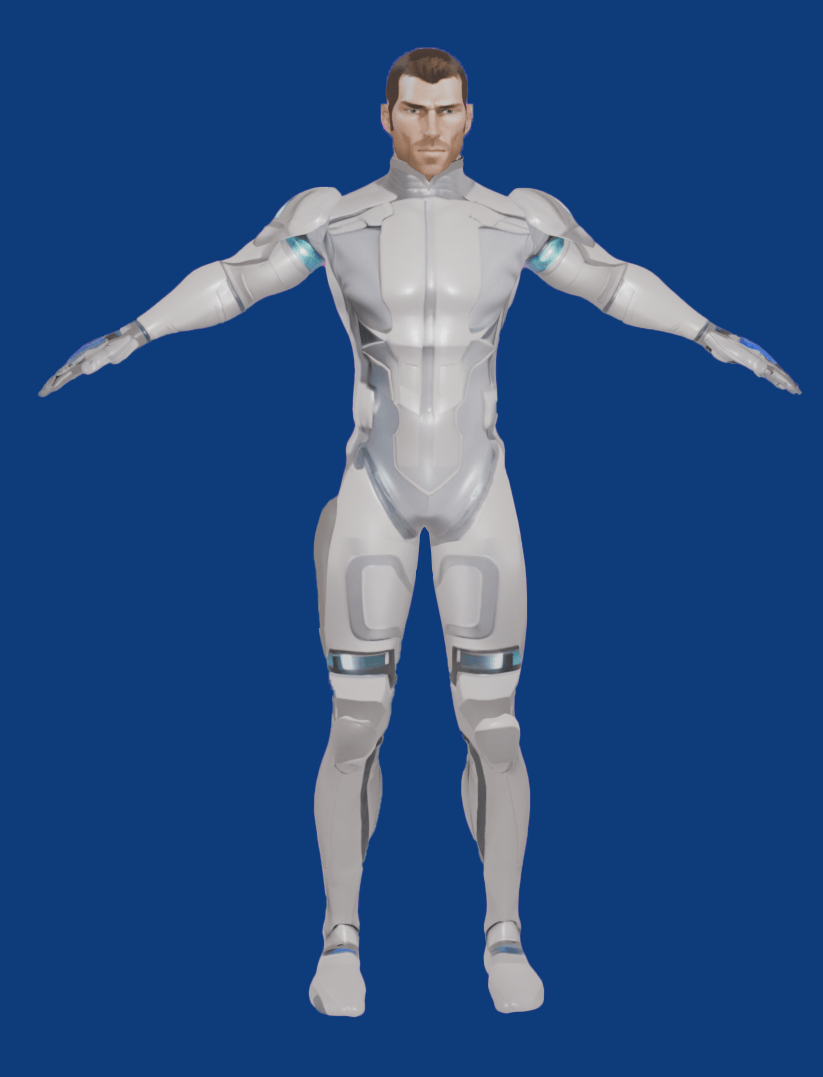

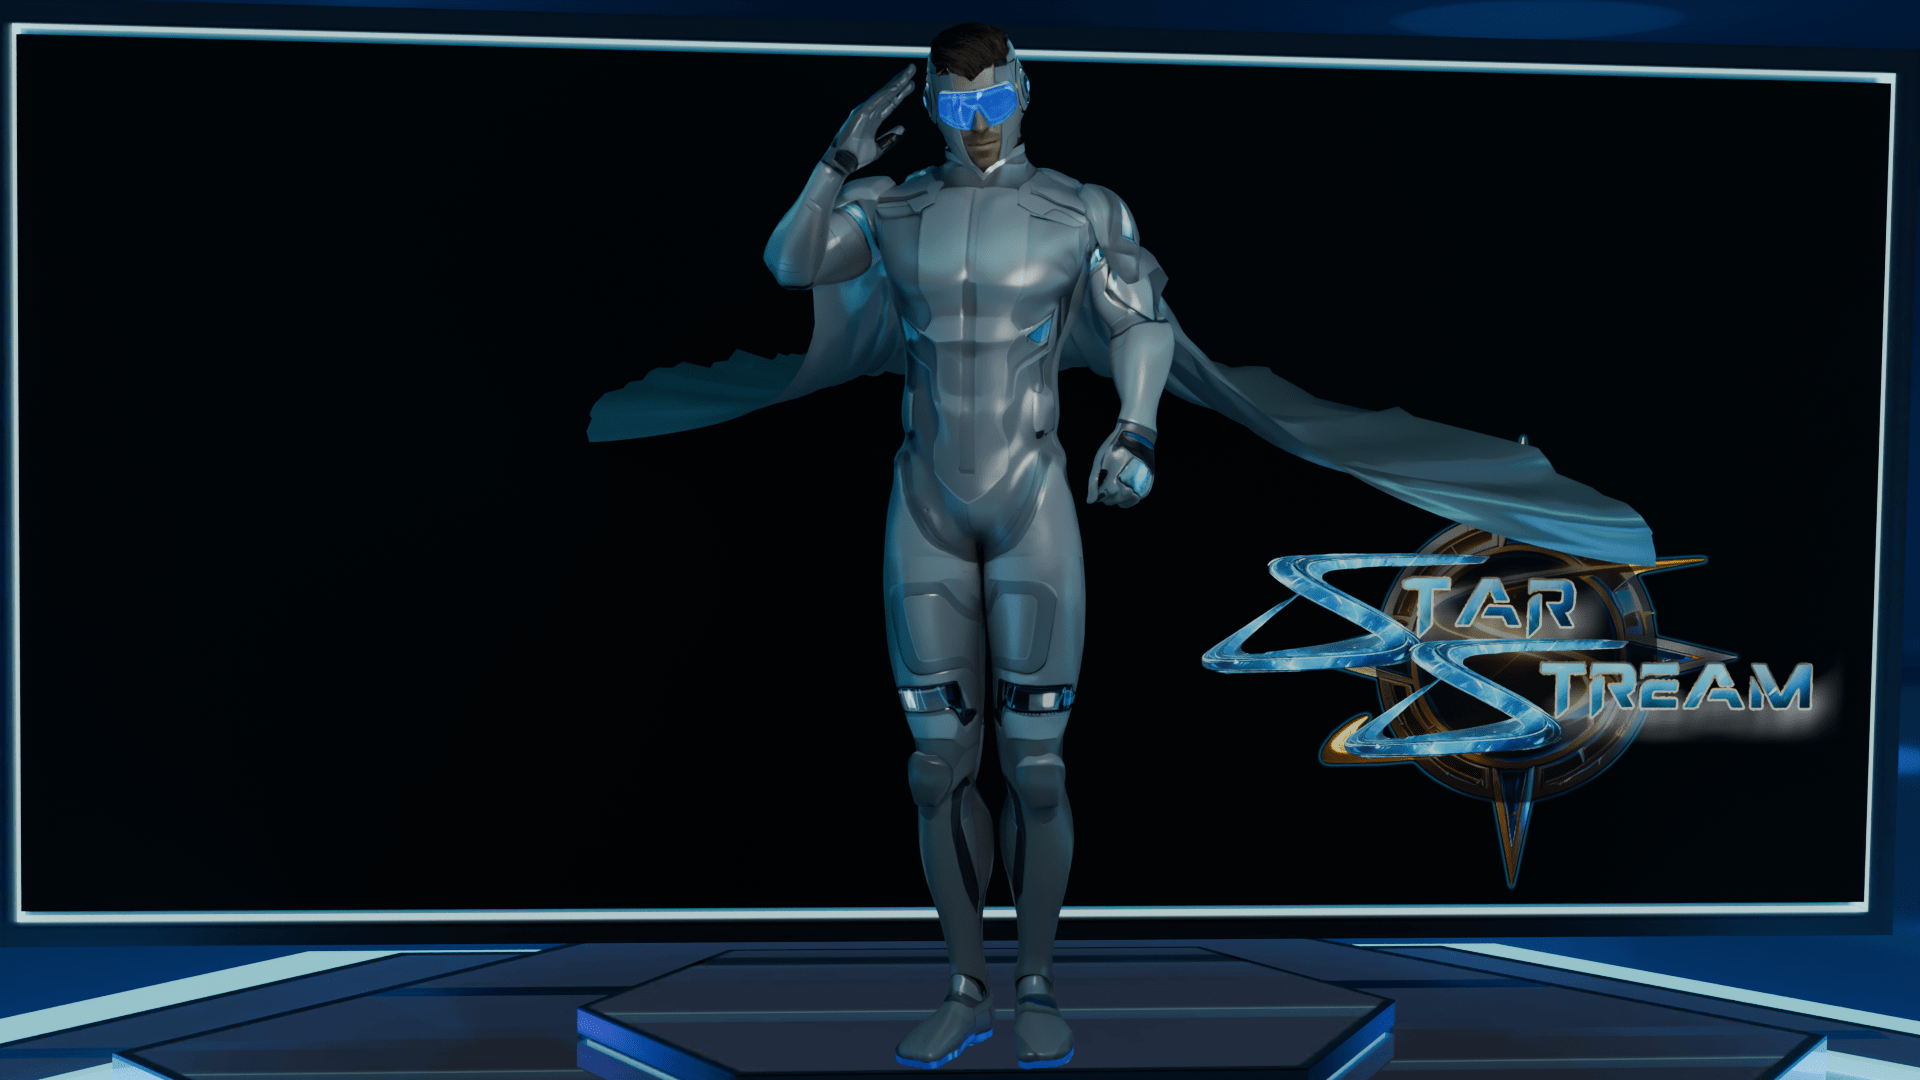
And that was when I learned how to build solid objects with subsurface modifier. I built the Visor and mask. It was my first completed fully modelled and textured standalone prop. Complete with accent lights, metallic accents, and transparent “goggles.”

Of course, I was still making improvements to Val, and I began construction of the entire Firebird as I worked on Agent September. It came to a point where I was putting one down, working on another, and so on until I reached this stage. And even after the ship was complete, I still went back, and made changes, and cleaned up my old bad technique. I did the same for VAL and Sept.
For a comparison, See the old vs. newest version of the cockpit dash below:

One day I found myself making renders of the completed assets in blender. Some you have already seen on other pages. Some I will post here. But I thought to myself, “Now that I have these, there is so much more I can do.”
That was when I discovered VRChat and Unity. I had very little experience in VRChat, but what I did know was I could do much MUCH more than simply “sit” in the space I created. I could now use everything I’ve created in a much more interactive way. It wasn’t long before I had a fully customized Agent September Avatar, complete with cloth physics on the cape.
Then I took on the hard and winding road. VRChat World Creation. Weeks of creating more props, adding assets, compiling sound effects, coding in Udon#. Oh, and no more GLTF. I had to unlearn all that I had learned for exporting files. It was time for a crash course in FBX for Unity compatibility.
The result: An expansive, interactive world. You can sit in the cockpit. You can use the flight sticks to steer the ship. There are instruments and buttons that function in game. There are pickups and data-pads that can control and influence the interactive experience. Transport to another location to find a fully stocked lounge and bar. Play a game on the fully playable pool table thanks to VRCBCE 2.0. Interactive drink glasses. Sofas and chairs to relax in.
But let’s not forget the most monumental of tasks that went into this. It was such a chore that it didn’t even make it in until my 2nd update a month later. VAL. A fully programed, animated, voiced, context dependent NPC that follows the player and adds companionship and clues.
As of now, December 2025, most of the KEY features have been added and implemented. So, what would be left to add you ask? Well, since you are here, you get the super secret details: There are, and will be more, hidden secrets and easter eggs that reference key plot points straight out of the novel. Completing the tasks will provide rewards. I’m working on new Avatars for players that complete the challenge. There will also be a unique code that you can enter on this website for digital or physical rewards outside of VRChat, such as signed copies of the book upon release, or signed artwork. Hell, I may even grant access to my 3D models for enthusiastic fans to create and build upon the foundation I’ve laid.
But let’s not get ahead of ourselves. I still have 6-8 chapters to finish so I can complete the first book. So on that note. I will be focusing on the Novel and the narrative for the time being, but I hope you enjoy what I have made so far.
Below is an extensive gallery of in game photos I took in VRChat.
VRChat can be downloaded for FREE and used for FREE on PC-Windows, Meta Quest, Android, and IOS iPhones.
VRChat can be used in first person mode on Desktop and Mobile if you do not have access to a VR headset. This means anyone with so much as a smartphone can download and explore these creations.
With that in mind, I’ve gone to great lengths to ensure that my Avatars and Worlds are compatible not only with powerful PCVR players systems, but also compatible and working on less powerful devices such as Quest and mobile. I’ve made compatible ports for Windows, Android, and IOS for each of my creations.

StevenTrek
The Images in the Gallery Below may be clicked for access to Full-size Versions. You may notice slight differences due to this gallery photo session slightly pre-dating the video above. Some textures and meshes were improved upon between the gallery session and the trailer video.


